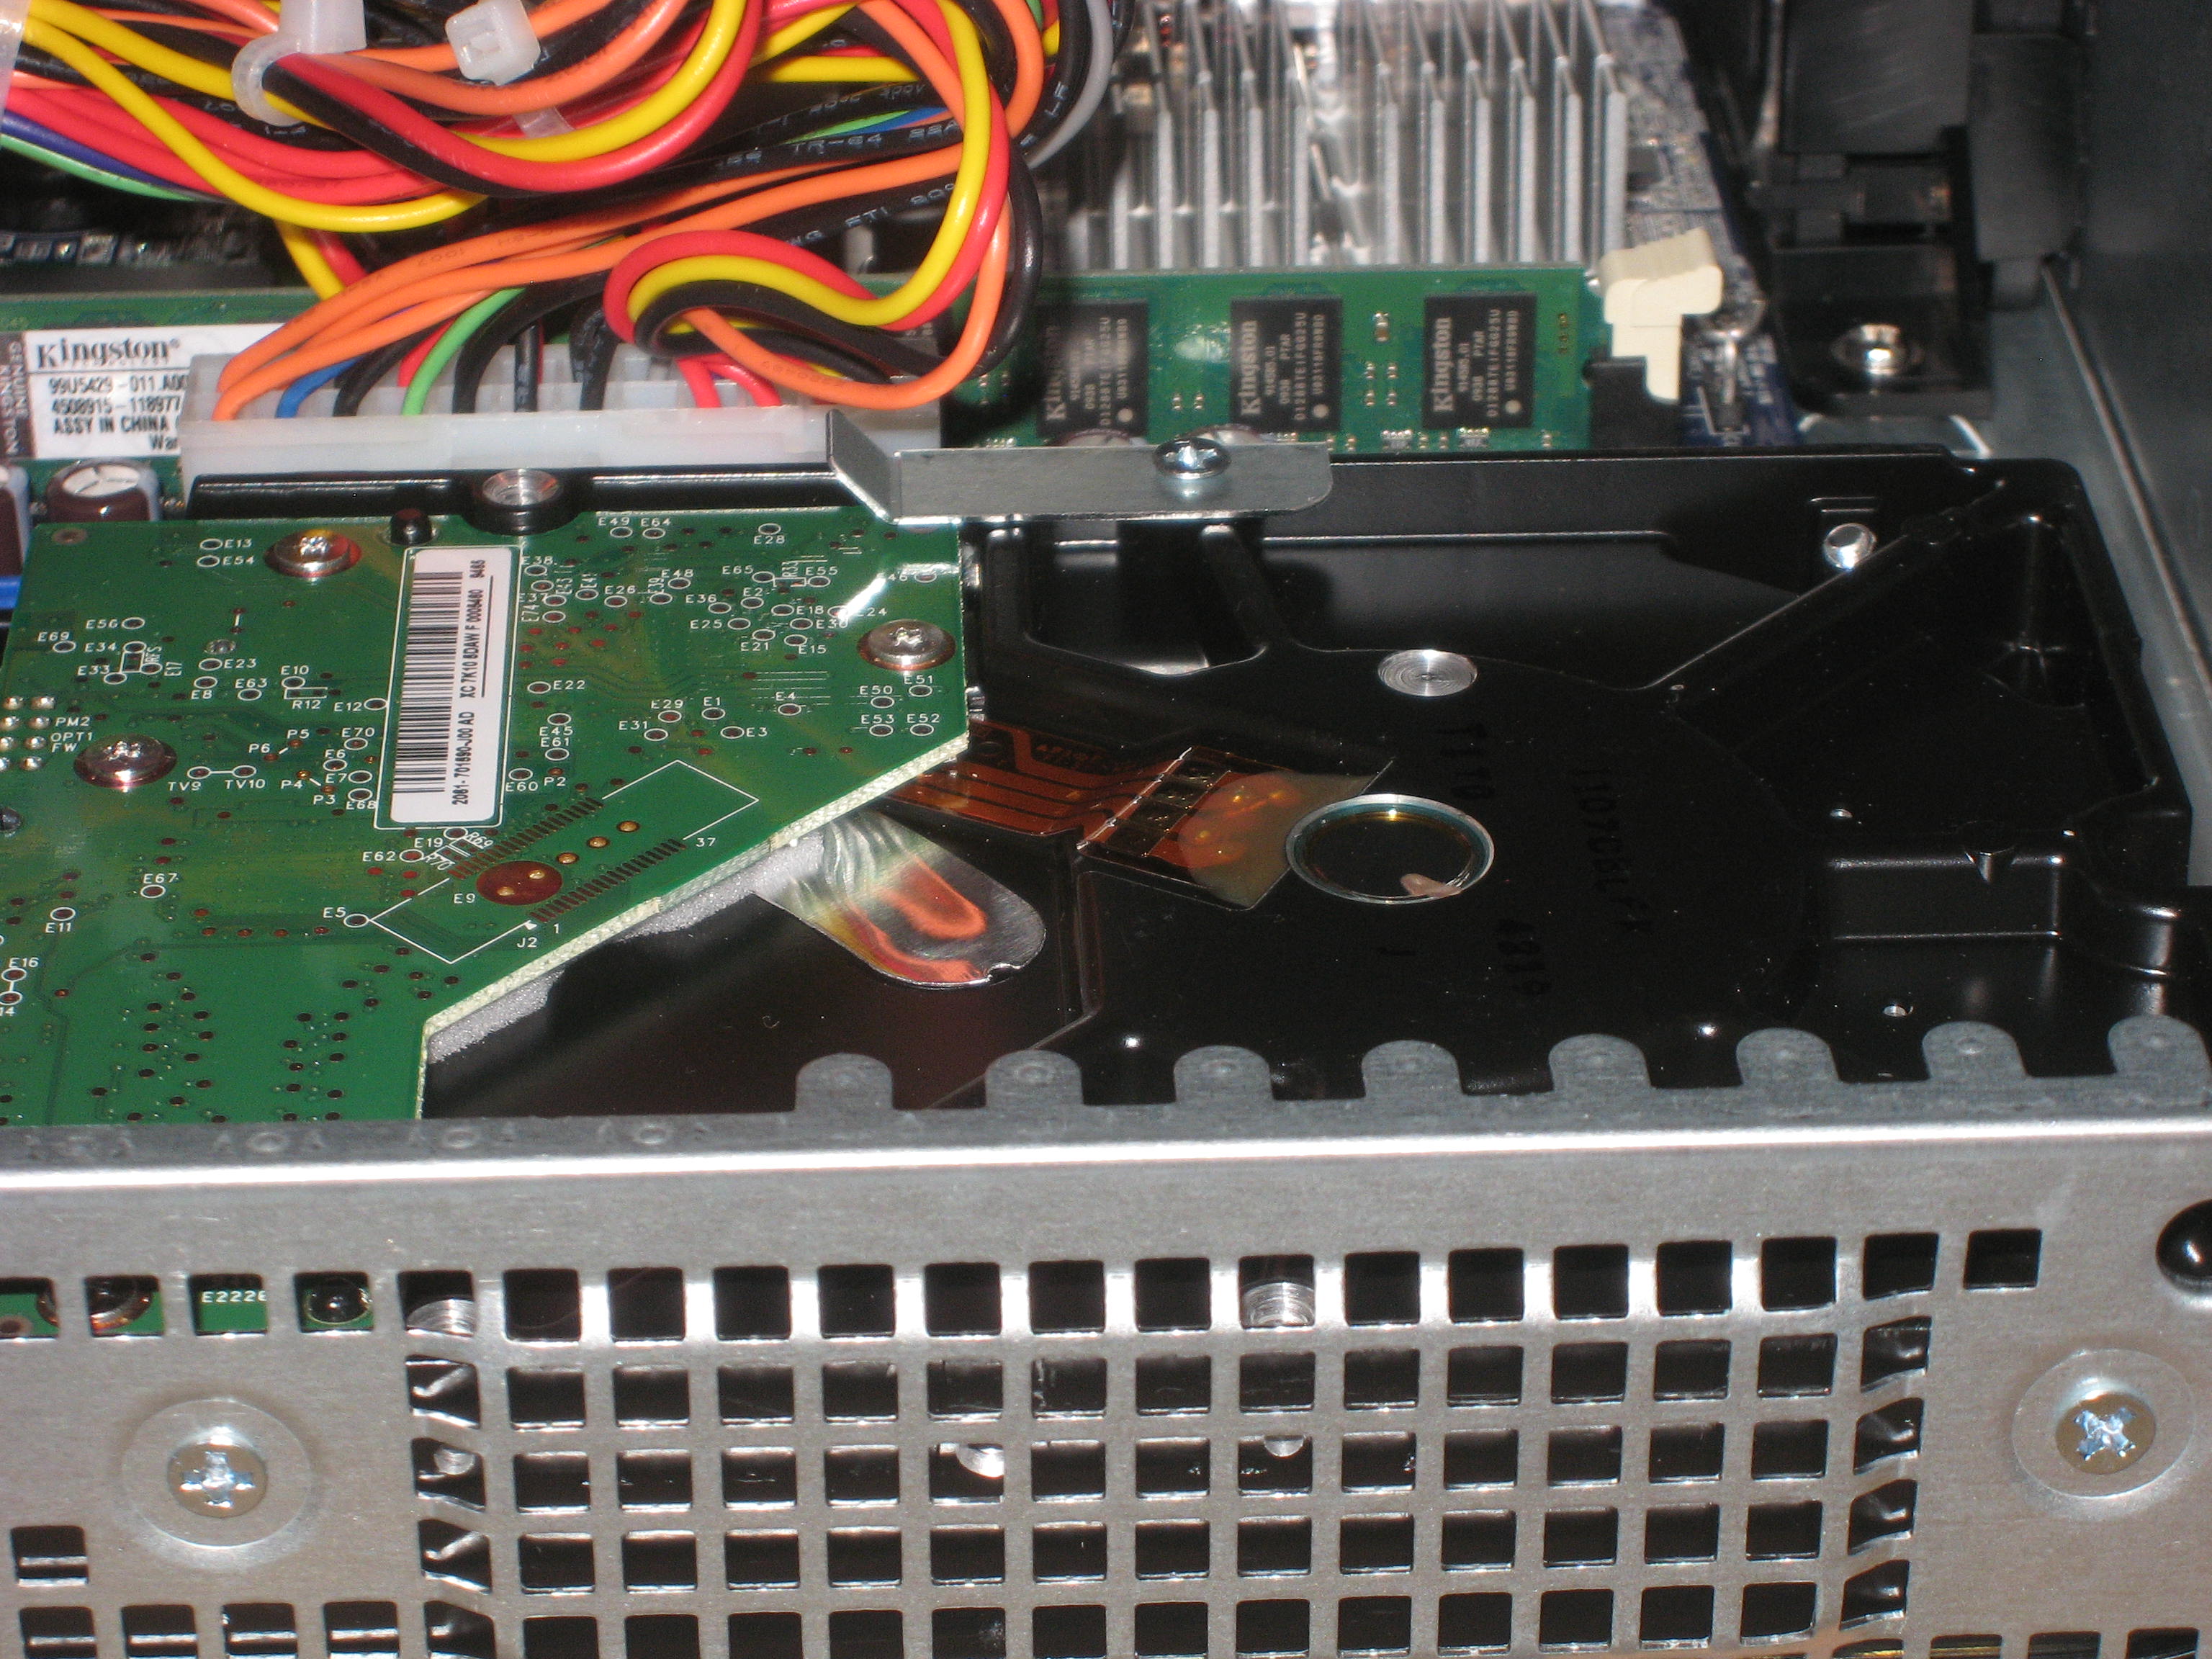
There is one slot for memory, and it can only go in one way. (BE SURE, when ever you touch anything for the inside of this computer, touch something metal to discharge any static electricity before you touch the item you are using. This includes touching the motherboard, the memory, the hard drives, etc.) Open the little while clips so the memory can go in. The memory goes in at an angle and slides into the slot.

The two white clips will clip it into place as you rock it up into the vertical position. Once it is in, apply gentle pressure from the top, pushing it a little front to back to make sure it is secure.

Now to install the first hard drive. There are comments about this box that state that you can’t put a drive in the hole down there. You can, you just have to follow the directions. Place the drive in with the circuit side facing up and the power/sata side towards the power supply. You will have to rock it back and forth to get it in there. It does fit.

Once it has been slid into place, there is one screw that needs to go in to secure it.

Once its in, connect the power cord and the short sata cable to the drive. (If you haven’t clipped the cable ties for the power cables yet, you will need to). The other end of the sata cable needs to go on the motherboard on the sata connector. The sata connector on the motherboard is clearly labeled.

Leave a comment