Part 3 – Installing Ubuntu Linux
In part two, we discussed putting together the hardware of your server. Now that your computer is put together, plug in your power cord and your Ethernet cord to your router. Since you don’t have anything on this computer yet, you will need a spare keyboard and monitor while you set this up. Go ahead and plug these in too.
You will also need to have a copy of Ubuntu Linux Server edition so you can install it. If you would rather use the desktop edition, that is your choice, but this tutorial was written for the server edition. Also, I did this within a month of Ubuntu 9.10 coming out. It was very buggy at the time, and I had issues with it. So I decided to use 9.04. You will need a second USB key to make the install as there is no optical drive on this computer. If you have another kind of external drive (hard disk drive or CD Drive), you can try using that. This computer’s bios does support booting from USB.
Once you have gotten the iso of Ubuntu, you will need to put this on a USB key to install the OS. It will fit on a 1 GB drive. I tried extracting the files from the iso by using Diskmagic and WinRAR and copying them to the USB drive, but that didn’t work. The way I got it to work is by downloading a file from unetbootin, and using that to put the installation files on my 1GB USB drive. Visit this site to make your USB key so that you can install from it: http://unetbootin.sourceforge.net/
SETUP AND INSTALLATION
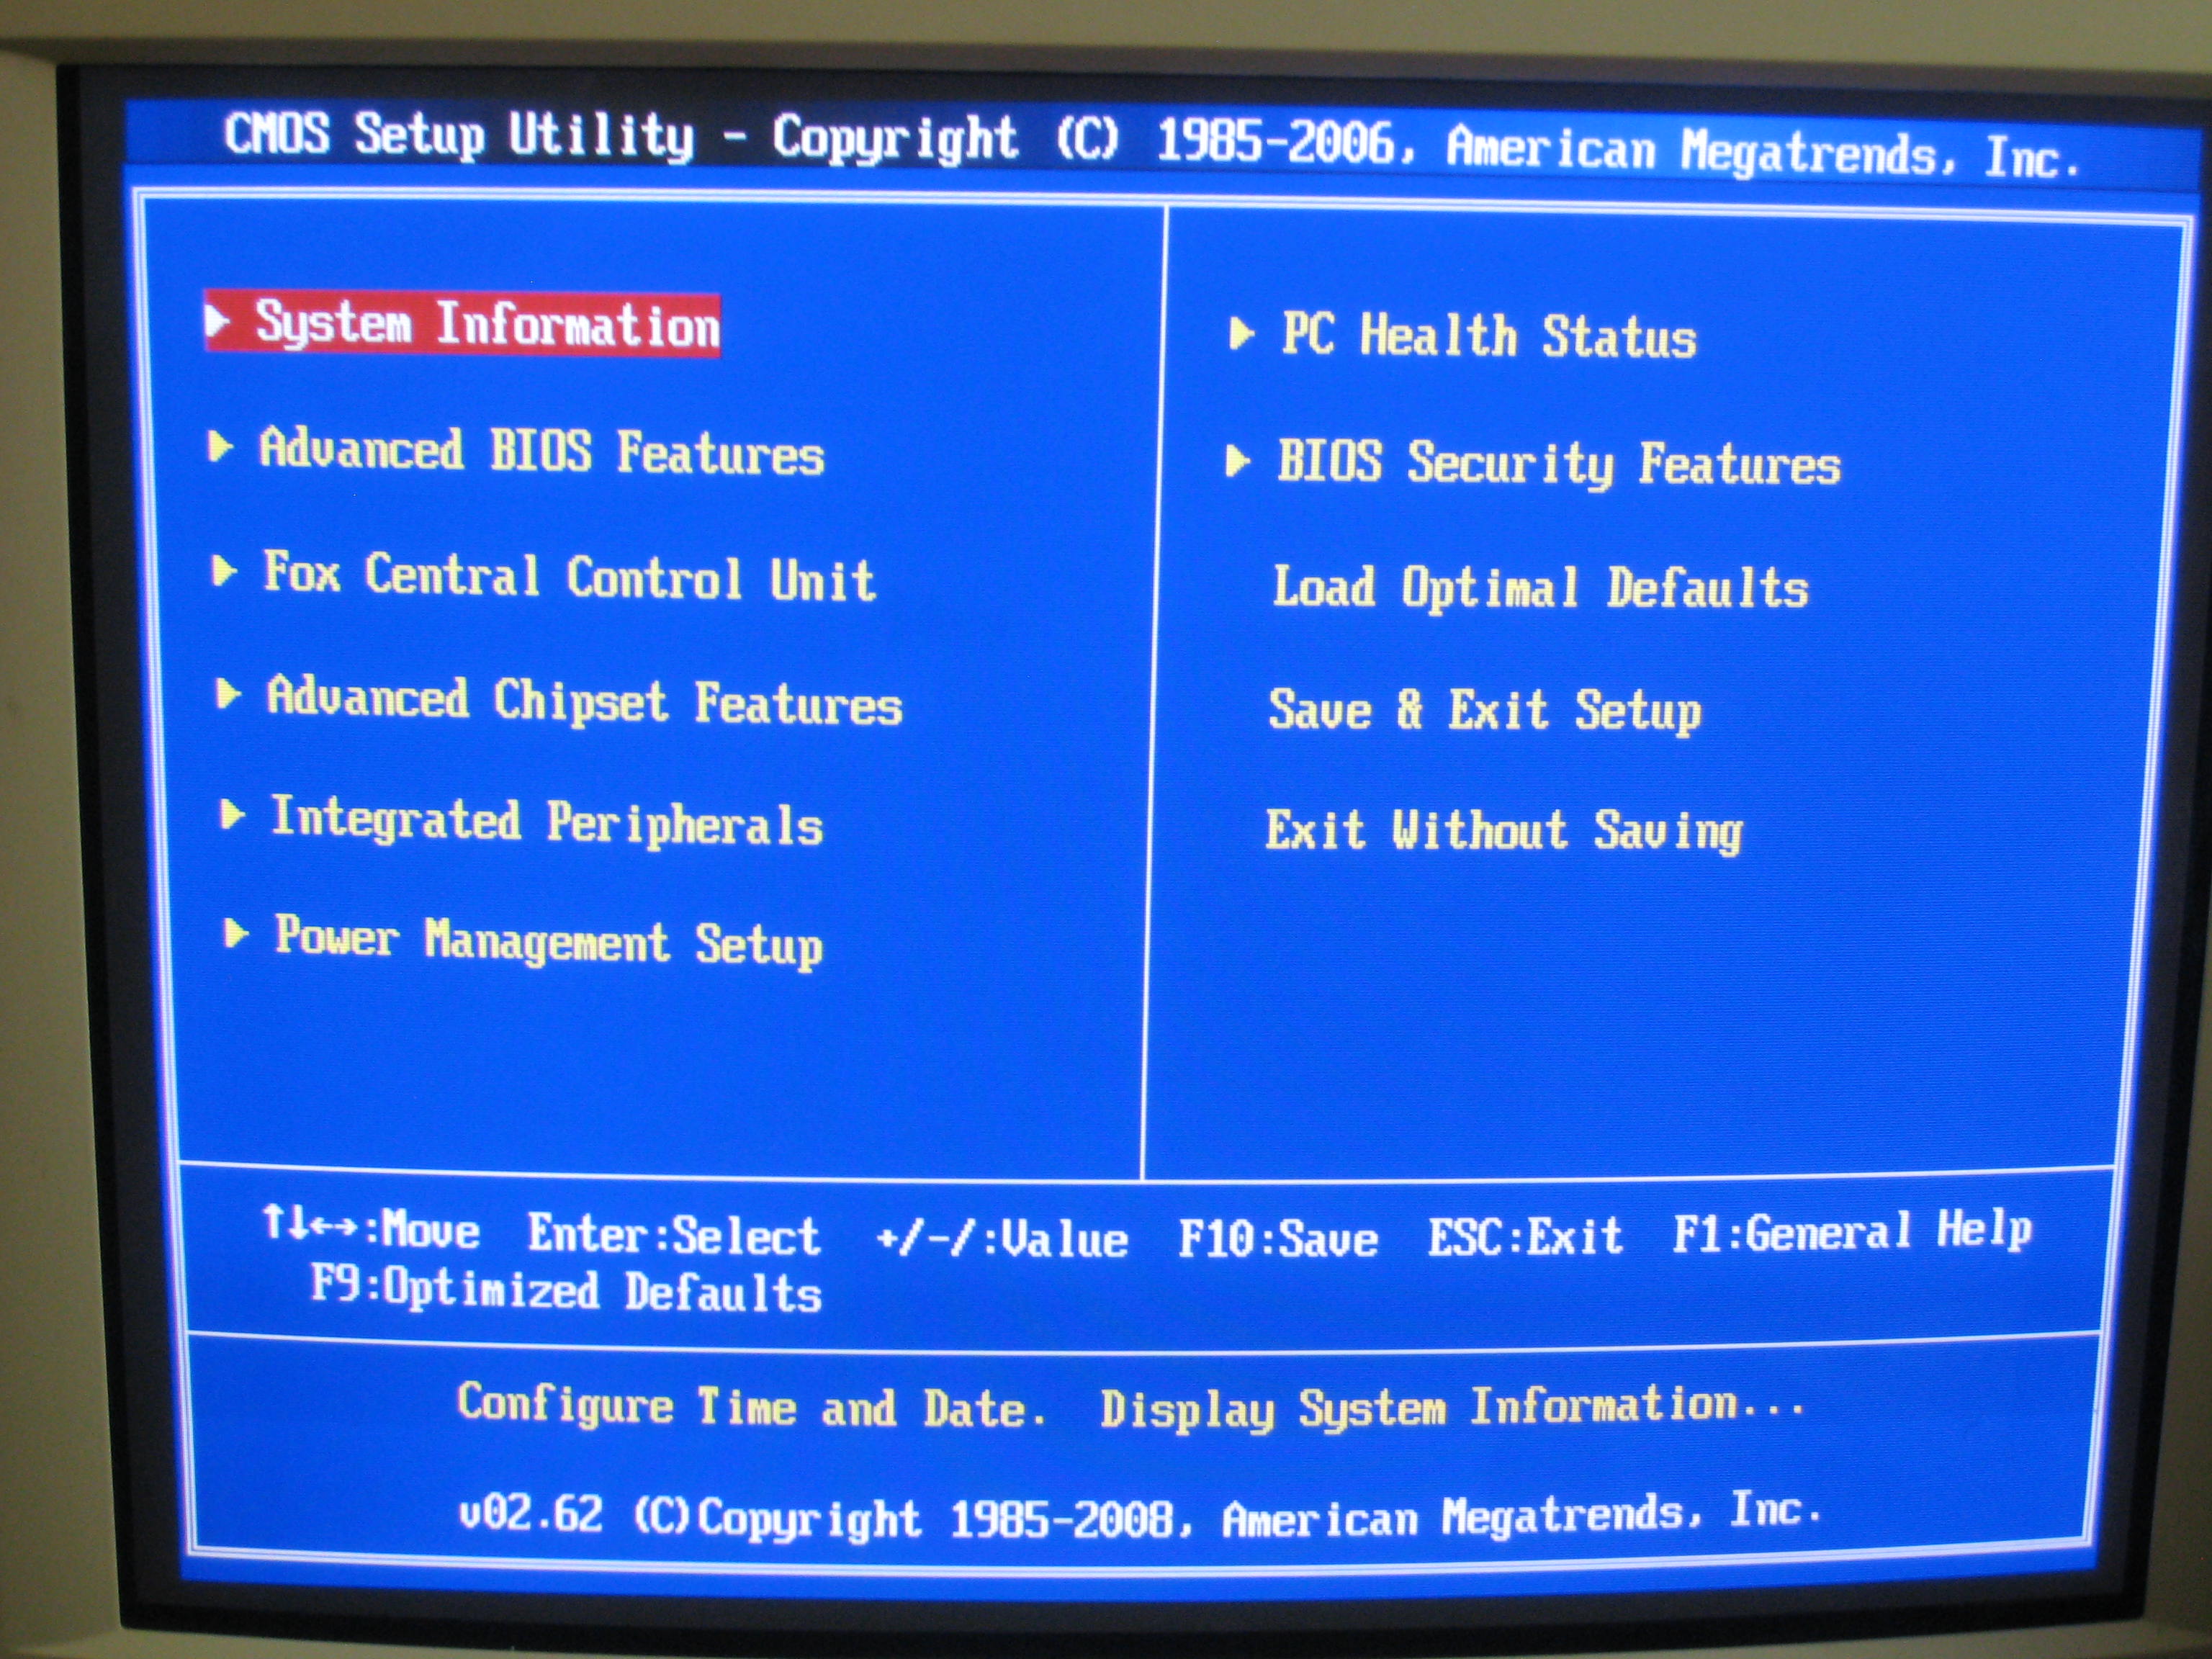
Once you have the USB key ready, insert it into one of the USB ports on the computer. Power up the computer and you will see the Foxconn screen as it begins its boot up sequence. At this point, press the delete key to enter the setup menu to have a look a the bios. This bios will allow you to boot up from a USB drive, which is VERY important for installing and running the OS as the two disk drives are planned to be used for data only.
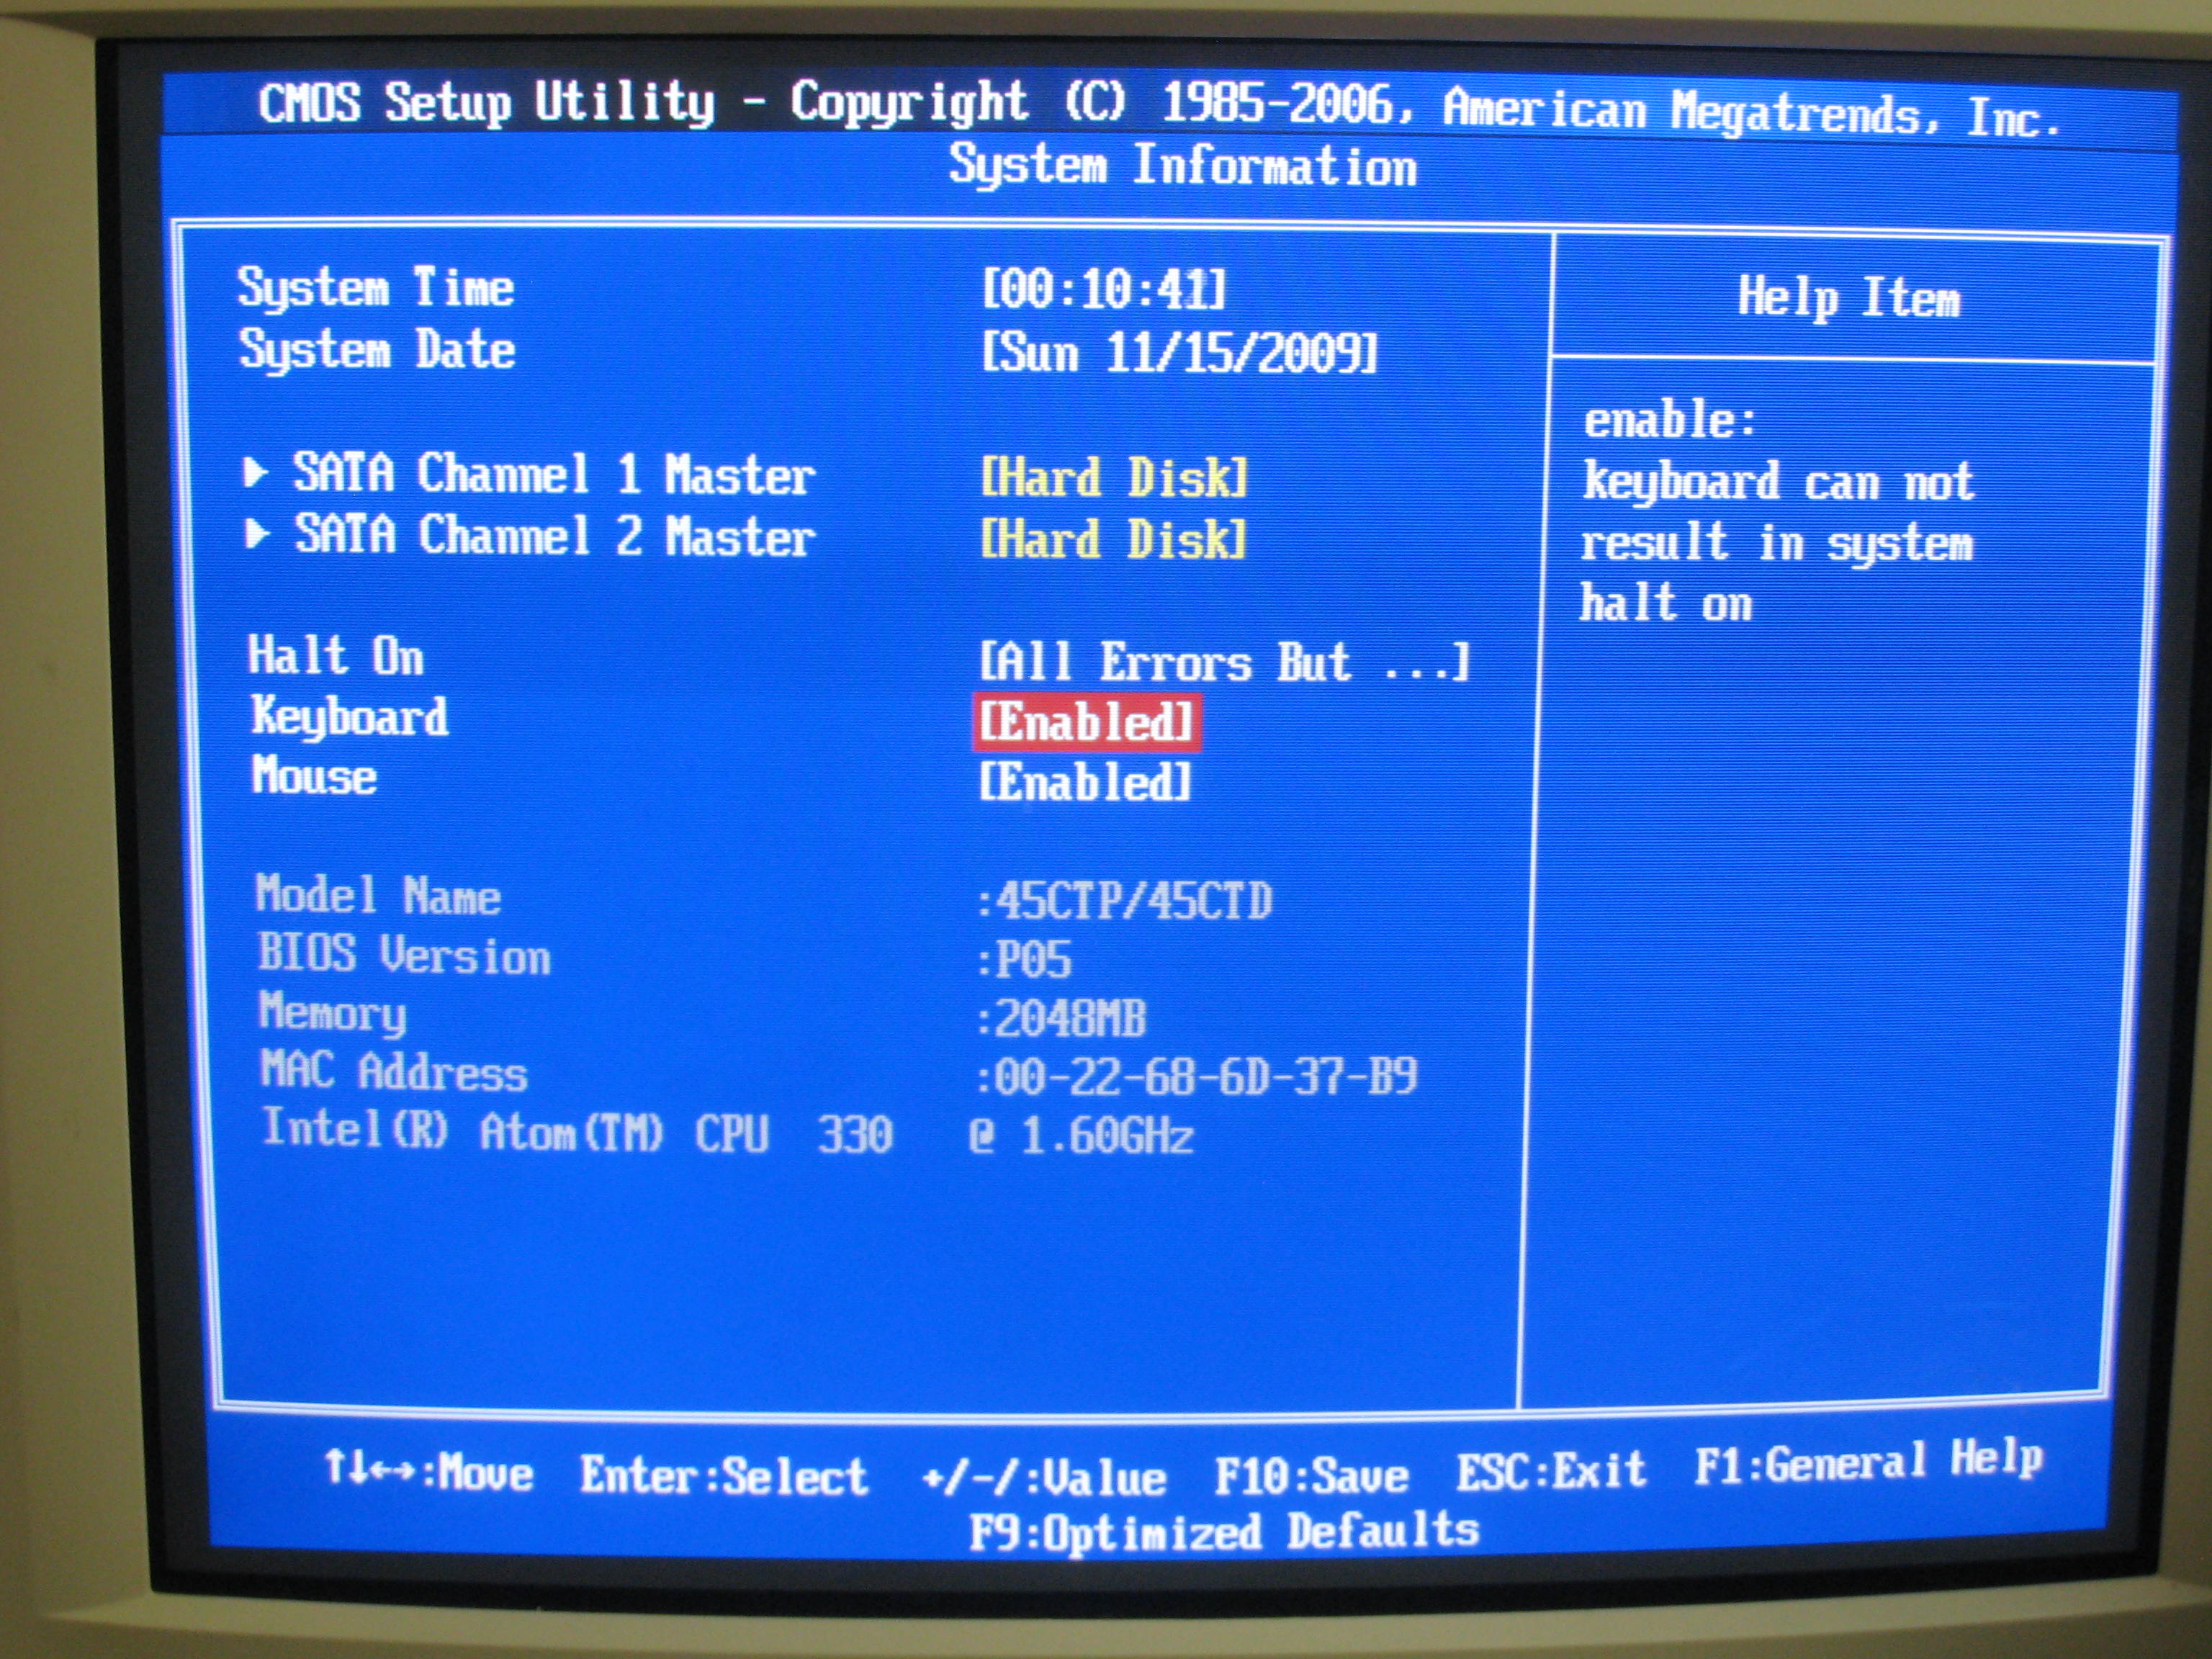
First we will edit the system information so we can change the boot warnings. Here make sure that Halt on is set to All Erros But, and have Keyboard and Mouse enabled. Since this will be a headless system, we need to make sure it’s not going to halt the boot up because there is no keyboard or mouse present.


Leave a comment